Watch the Molecular Plus tutorial.
今回の記事ではblenderの比較的有名なaddonであるMolecular Plusについての学習となります。
私がなにか特別なことを提供できるわけではないですがご理解くださいませ。
Discordで何かいい動画はないかと聞いたらいくつかの紹介をいただきました。
In this article, you will learn about Molecular Plus, a relatively well-known addon for blender.
Please understand that I do not have anything special to offer.
I asked on Discord if there were any good videos and got some referrals.
こちらの動画ではこのaddonの基本的な使い方を紹介してくれていました。
今回知りたいのはaddonの機能にあるUV toolとかジオメトリーノード関連なのですが…
なかなか難しいところなのかな?
In this video, he introduced the basic usage of this addon.
What I want to know this time is related to UV tool and geometry node in the function of addon…
Is it a very difficult part?
結論的には求めていたものがぱっと分からなかったので私なりの簡単な使い方を書いておきたいと思います
ご容赦ください
I’d like to write my own brief description of how to use it, since I couldn’t quickly figure out what I was looking for in the conclusion.
Please forgive me.
ここから始めます Start here.
まずaddonのダウンロードはこちらのページです
First of all, you can download ADDON from this page
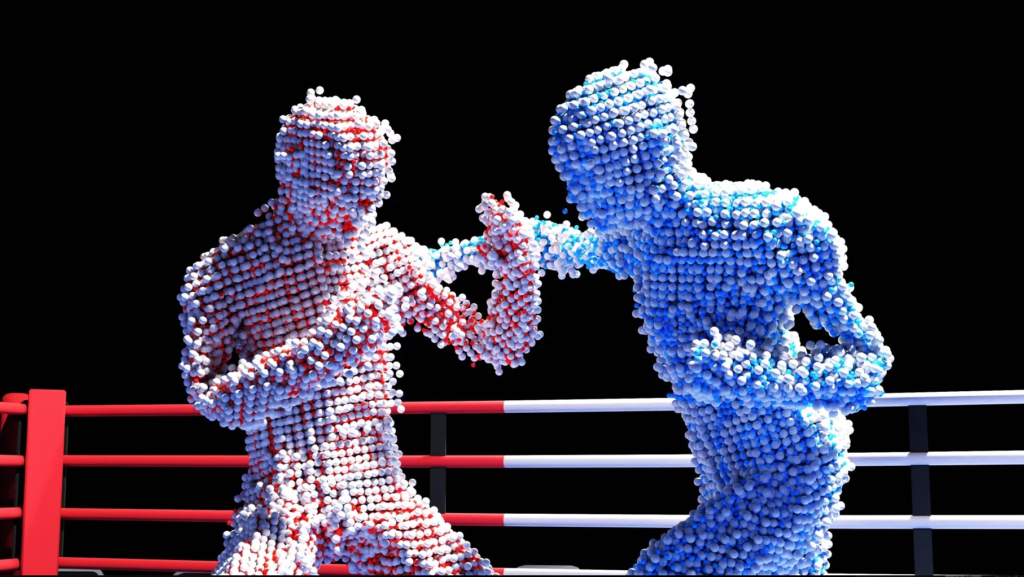
ダウンロードそのものについては各自でやっていただけますと幸いです。
よろしくお願いします
As for the download itself, we would appreciate it if you could do it on your own.
Thank you in advance.
あくまでも基礎の基礎ですで
まずは立方体と平面を追加します
この立方体からパーティクルを出して平面はコリジョンにして、そのパーティクルが当たるようにしていきます
It’s just the foundation of the foundation.
First, we’ll add a cube and a plane.
We’ll emit particles from this cube and make the plane a collision, so that the particles will hit it.

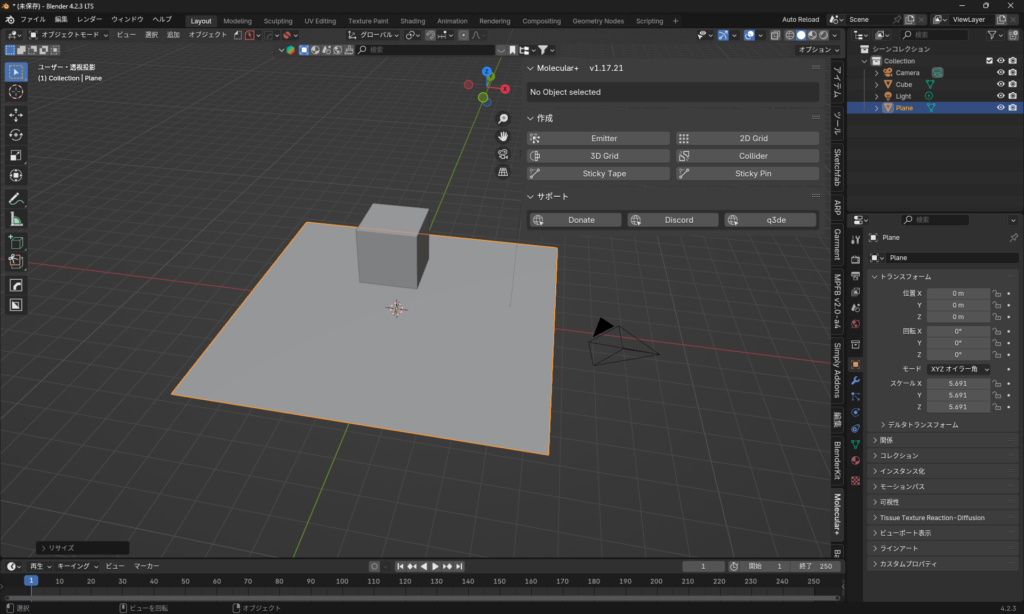
Nパネルのメニューを見てみましょう
- Emitter:パーティクルが出てくるもの 設定時間だけ湧いてくるタイプのものです
- Grid:初期設定の数だけのパーティクルが発生してソレ以上増えない、ゼリーモノなどのときに使えると思います
- Collider:コリジョン、当たり判定を発生させるものです
これがわかるだけでもう色々やれると思います
Let’s take a look at the N panel menu
- Emitter: Particles that appear for a set amount of time.
- Grid: This can be used to generate a default number of particles that will not increase beyond the default number of particles.
- Collider: Collision and hit detection.
If you understand this, I think you can do a lot of things!
立方体に3D Grid、平面にColliderを設定しました
3D Grid for cubes and Collider for planes
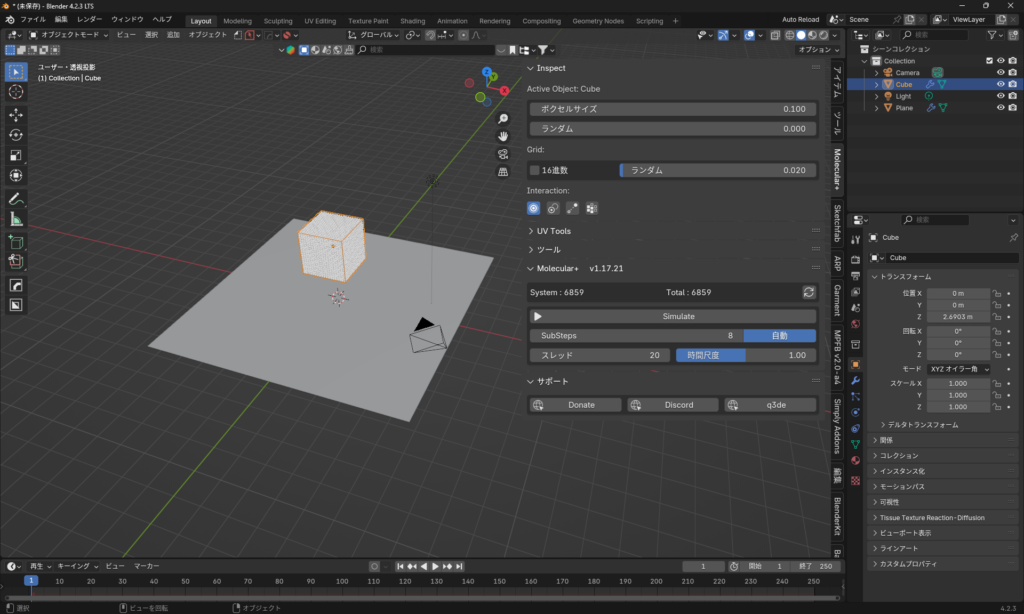
その状態でSimulationをクリックすると物理的特性を遵守した状態でシミュレーションが走ります
Clicking Simulation in this state will run the simulation with the physical properties observed.
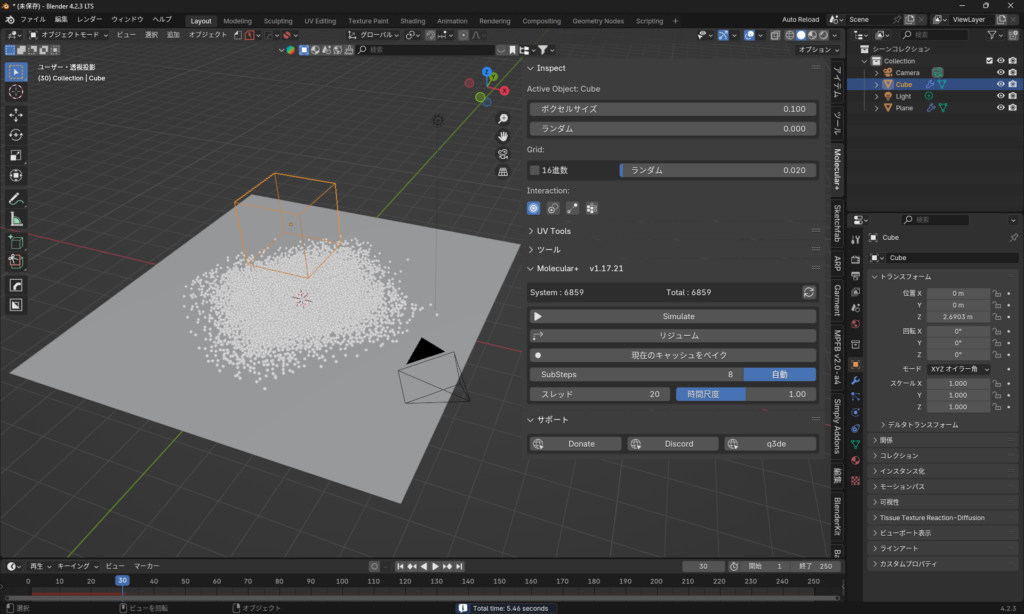
話のスタート最低限はここまでで完了です
ここから更に話を複雑にさせていくかは本人次第かと思います
The minimum starting point for the story ends here.
It’s up to you to complicate the story further from here.
ゼリーっぽいものを作るとき|When making jelly-like products.
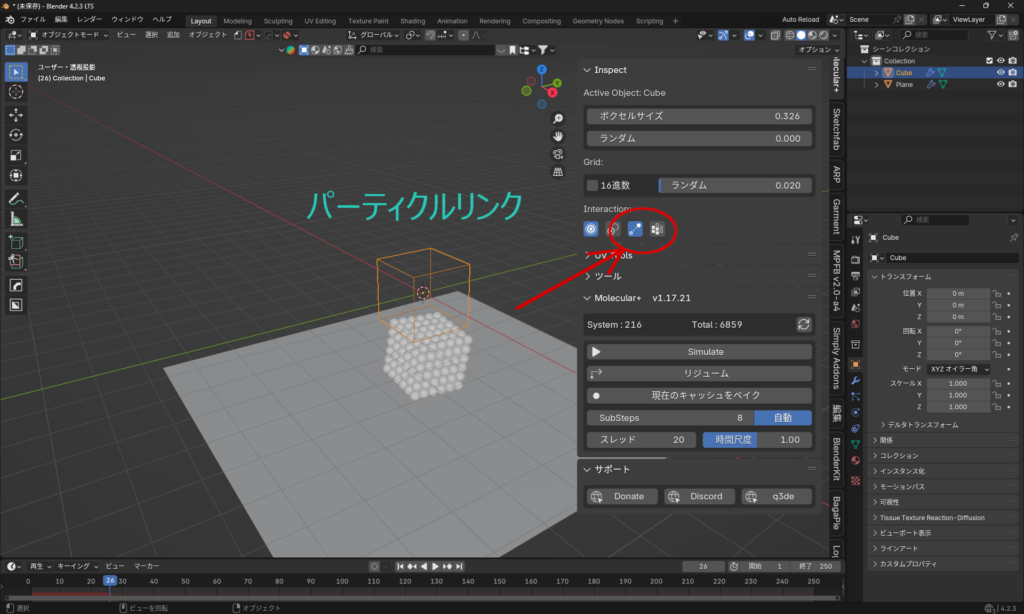
Nパネルのこちらをマウスオーバーすればわかりますがパーティクルリンクというものでパーティクル同士の接続を意味しています。
これをONにすることでゼリーなどの表現が可能になります。
とくに質感なども考えると、レンダーをハローからオブジェクトにして、メタボールなどに変えることで比較的簡単に表現することが可能になります。
If you mouse over here in the N panel, you will see that it is called Particle Link, which means that particles are connected to each other.
By turning this on, expressions such as jellies become possible.
Especially when considering texture, it is relatively easy to change the render from a halo to an object, such as a meta-ball.
私の課題、探しているもの|My challenges, what I am looking for
落下したあとに1枚の絵になるような、ビュー投影をするためにできればキーフレームなどが打てるととても嬉しい
そうするとリジッドボディに頼らないものづくりができそうだと思う
It would be very nice to be able to type keyframes etc., preferably for view projection, so that after a fall, it becomes a single picture.
I think that would make it possible to create something that doesn’t rely on rigid bodies.

No responses yet